Site Meter
Showing posts with label tips. Show all posts

Monday, February 7, 2011

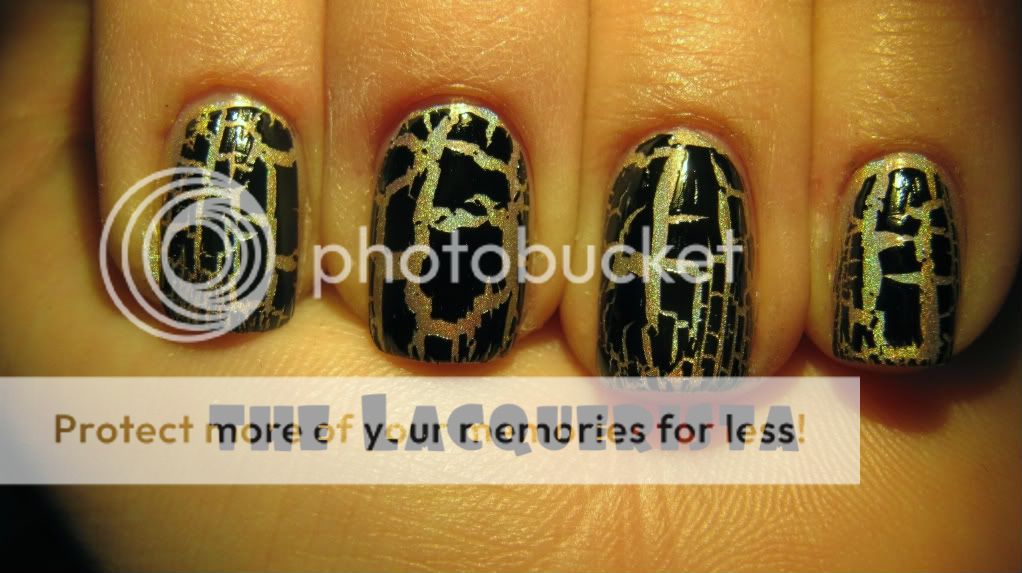
Experiments with Black Shatter: Linear or Scattered crackles, and can you use thinner?

Comments
Dear Lacqueristas,

A few weeks ago I posted my tips and tricks on crackle polish. I did some more experimenting in the weeks that past since and I have some new tips and tricks I'd like to share:

Patterns
In my previous post I showed some common patterns. Most of you liked the *Leopard* and the *Turtle* the best.

I would consider these two to be linear designs because their pattern is rather lined up, even and neat. I find those easier to achieve on a base color that is not glass-like smooth. A holographic polish for instance, has more grip and therefore the shatter crackles more evenly.
It also helps to apply a thin to medium thick layer of shatter. The fact is: the thinner the layer, the smaller the pattern.


When the surface of the base color is really smooth, for instance on a jelly or creme, the shatter lacks grip when it shrinks and will leave random or string-like patterns.


You will also get this effect when the base color is not dry enough or when you apply a thick layer of shatter polish.

Can you use thinner in Black Shatter?
The answer is: Yes you can. Black Shatter turns goopy super, super quick. After two manicures my bottle was too goopy to handle. I decided to add some OPI polish thinner and that worked perfectly. It didn't damage the polish and it doens't affect the crackle effect.

I updated my original post on this topic. I am so exited I got so many respons through comments, Tumblr email and Youtube. Thanks all!

Don't forget to enter my Black Shatter Giveaway
Do you want to share your experience or tips with crackle polish? Which pattern do you like best?
Hasta la vista, Lacqueristas!

Friday, January 28, 2011

Tip's and tricks: Palate cleanser

Comments
Dear Lacqueristas,

Ever felt like an overkill of bold, superduper extra special finish polishes? Like you can't fully appreciate your polish because there has been so much over the top polish on your nails? As if your eyes are tired of all this visual stimulation?
I sure have. I found the solution long time ago. Let me share this with you.

Palate cleansers, by nature, are used in the middle of a meal to remove lingering flavors from the mouth so that the next course may be enjoyed with a fresh perspective.

You might wonder how this would work in nail polish? I'd say, think nude and neutral. A palate cleanser is not the same as a mannequin shade, as that is a shade to mimic your skin tone and a palate cleanser is a serene, calming shade that does not have to match your skin tone.

I figured out that I enjoy wearing white-ish, pale pinkish/nude colors that are lighter then my skin tone. Here are some examples:

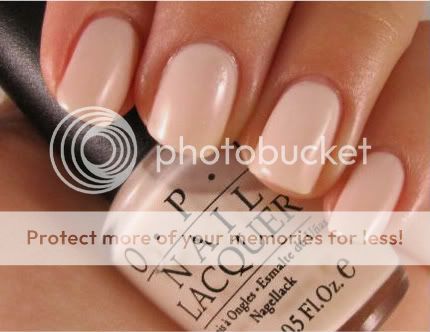
OPI Pink-a-Doodle
OPI Bubble Bath (black label)


Chanel Jade Rose

OPI Fair Pinkum Dinkum. This is my very favorite palate cleanser.

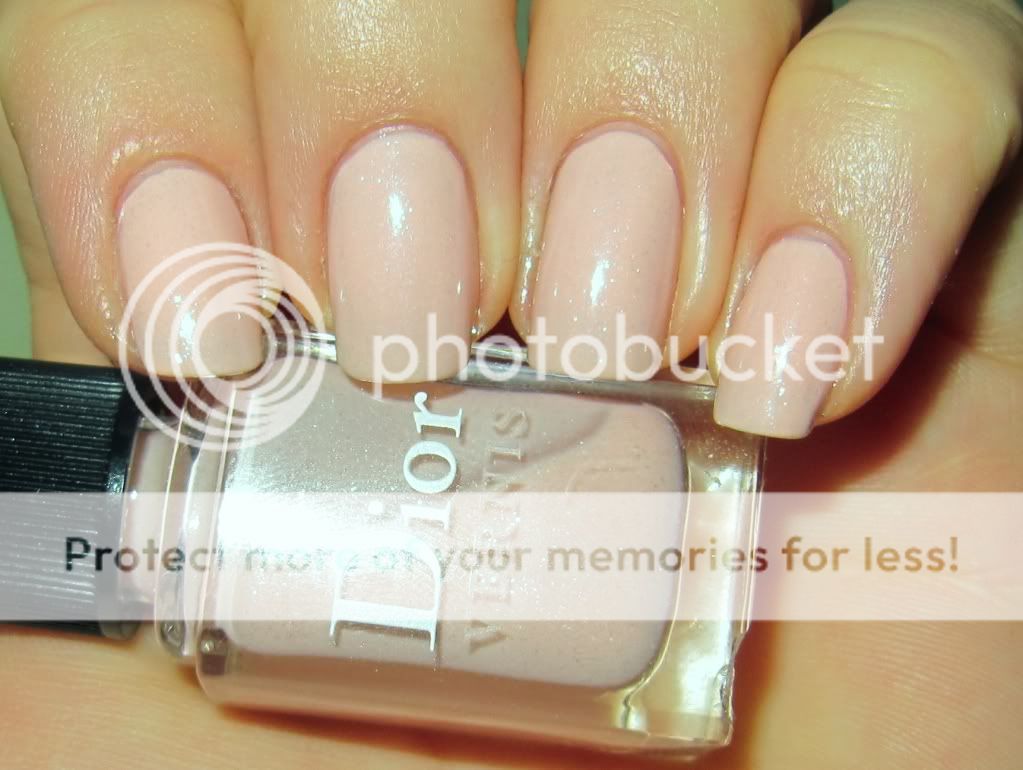
Dior 189 Poreclain Rose

Wearing a palate cleanser works better for me then having naked nails. I like to alternate creme, opaque palate cleansers and semi-jelly ones. I love it when they have shimmer or even a lil micro glitter. Whenever I wear one, my nails look so clean and well groomed and it puts me in a serene state of mind, visual wise.

After wearing a palate cleanser for a day or two, I  appreciate wearing my *crazy* bold, in your face nail polishes so much more. It's like I fall in love all over again.
I think everyone can find some palate cleansers that work best for them. Here are some other shades that work for me:

Zoya              - Danielle
OPI               - Matched Luggage
OPI               - Tickets to Paradise
OPI               - Canberra't Without You
Chanel           - Mica Rose
Chanel           - Allegoria
Dior               - 108 Coconut
Models Own - Buff Pink
Where you familliar with the concept of using palate cleansers in a nail polish way? What are your favorite shades?

Hasta la vista, Laqueristas!

Saturday, January 15, 2011

Tips and tricks: a masterclass in crackle/shatter topcoat

436 comments
Dear Lacqueristas,

In the nail  polish community we call it "crackle" others might now it by "shatter". I don't care what we call it, but it's highly addictive and I can't stop playing with it.
Crackle or Shatter polish is a topcoat that shrinks when it dries to leave a shattered layer. It is applied on top of a "normal" nailpolish. The shattering creates a pattern that looks somewhat like an animal print, leaving the base color underneath peek trough.

OPI by Katy Perry Black Shatter over Nfu.Oh 61


Eversince OPI and Katy Perry announced their collaboration that includes a Black Shatter, the hype around crackle polish is exploding. I was lucky enough to have crackle polish experience for a few months now and I discovered some tips and tricks I want to share with you.

Apply the shatter on a dry manicure
Make sure your colored polish is completely dry before you apply the Black Shatter. If you apply the Shatter on a semi-dry polish, you will not get that nice animal print look but ugly thick streaks.

Example of Shatter polish on top of thick layers of semi-dry base. In the proces of shattering, the crackle fragments adhere to the semi dry layers, tearing them apart. Do not want!

Example of crackle applied over a thin layer of semi-dry base polish.
The crackle layer shrinks into weird strings. Do not want as well!

Can you wear crackle/shatter polish by itself?
The answer is; yes, you can. But it won't crackle. It would just be a chalk board like streaky, thin layer. SO probably not a good idea.

Work quickly
Shatter and crackle polish dries super fast. You would want to apply it very quickly. Very quickly. Í reccomend not to even re-dip the brush, that takes too long.

Quick dry topcoat
Be aware when you dry your base mani with a quick dry topcoat before applying a shatter. I didn't like the patterns the crackle made when I applied it over my quick dry topcoat (I use Seche Vite). Quick dry topcoats dry to a glass-like finish and I wouldn't be suprised if Seche Vite leaves an oily residue on the nail after it has dried. Either way, it makes the surface of the nail so smooth that the shatter won't have enough grip to shatter in a nice pattern.

Ugly patterns over quick dry topcoat. The shatters fall apart in string like pieces. Not so pretty.


Creating patterns
Experiment with the amount of Shatter polish on your brush when you apply. When you apply a thin layer you will get a fragile fine craquelé look. On the other hand, when you apply too much, the Shatter will "break" into huge pieces. Personally I like to apply the Shatter like this: I take the brush out of the bottle but I don't swipe away the excess of one side of the brush.
Also, I found that the more "grip" the base polish has, the better the crackles are. For instance; holographic or semi bumpy glitter polishes display a more linear shatter (the Leopard and the Turtle) as opposed to creme, glass-like polishes (they tend to display either the Giraffe of the Tread/String like shatter)

The turtle has a linear pattern
of medium sized shatters. You create this by
applying a medium to thick layer of shatter.

The Leopard has a very fine shatter
pattern that is mostly linear.
 It doesn't show much of the base
color and the pattern is blurry
from a little distance. You create this by applying
a super thin coat of shatter. If needed,
thin out the formula of your shatter first!

The Giraffe has big, bold patches of shatter in a random pattern.
It allows a lot of base color peek through. Create this by
applying a very thick layer of shatter. If your shatter
is too runny, leave the cap of for a while to thicken it's formula.


You can be messy
When you apply the Shatter, don't worry about how tidy you do so. You won't see smudges or missed spots after all. Do not pass the brush a second time! It's better to apply just one wide stroke op shatter and leave that nail alone afterwards. Passing your brush over an already (crackle) painted piece of nail can mess up the effect.

Clean up
After the Shatter has crackled, I like to be precise with my clean up. The crackle look is funky and can crackle all it wants on the nail, but because it is so "out there" it can easliy end up looking trashy. So I make sure my cuticles are clean. I use a thin brush dipped in acetone.Have a look at my tutorial if you want to see how this works.

Finish
The Black Shatter dries up matte. I do like the contrast of the sparly, shiny base color peeking trough the matte crackle but you can also apply a regular topcoat on top to add shine. This will also deepen the black of the Shatter itself.

Shatter polish without topcoat

The same manicure as above topped off with a shiny topcoat

Combinations
Experience with different base colors. Glitters, holographics, duochromes, cremes, light, dark are all options. And you can even apply a shatter on top of a Konad design, marbled manicure or any other nail art.
China Glaze will realease a collection with different colored crackles. The options are endless!

Formula
Crackle or Shatter polish will thicken after a few uses. You can apply a few drops of nail polish thinner but never, EVER use polish remover for this purpose. It will destroy your polish.
I like to add a drop of 2, 3 of thinner after each use, so my crackle always has the right cosistancy.
  
So far my experiences with crackle/shatter polish. How do you feel about crackle? Do you have tip's and tricks about crackle that you feel like sharing?
 
Hasta la vista, Lacqueristas!

Wednesday, July 21, 2010

How I organized my Helmer in a way to find EXACTLY that ONE polish I'm looking for... In a snap!

16 comments
Dear Lacqueristas,

Those of you that own a Helmer (or two, three, four etc) will know exactly where I'm coming from...
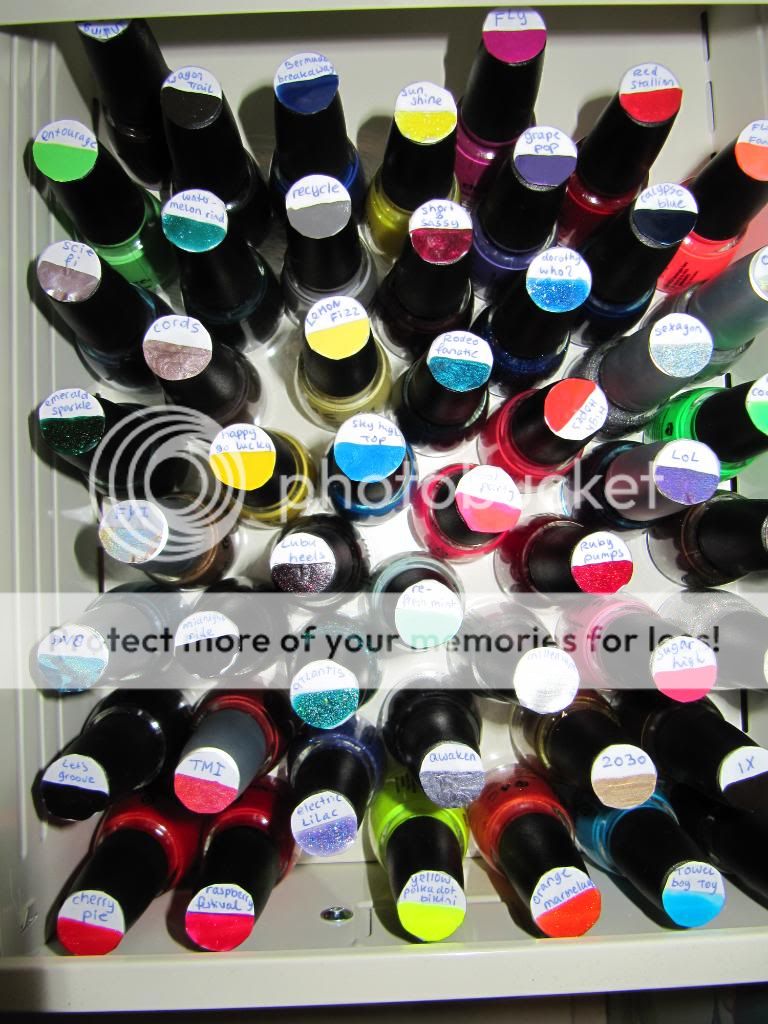
Doesn't it annoy you when you open the drawers to get that one polish you're looking for? All you see is similar bottle caps. You would have to pick up the bottles to read the labels on the bottom. Well I got fed up with that! This is my solution:


I bet many of you have though about this already but I am so happy with my newly organized stash!

Here's how I did it:
*Measure the diameter of the cap tops and draw circles of the right sizes with a pair of compasses on a sheet of white paper.
* In each circle you would want to write the name of the polish.
*Put Scotch tape over each circle. This is your "base coat"
*Swatch the polish on the lower half of the circle
* When dry, cut the circles out
*To attach them on to the polish caps you can use tape (as I did with my Zoya's) or crazy glue (that's what I did with my China Glaze). If you want to use glue: make sure you put another layer of tape on the bottomside of your swatched circle. If you don't do this, the glue will be absorbed by the paper and affect the paper and the polish swatch.

Was this idea helpfull for you? Did you already have a similar organization? And, how do you like to keep your stash organized?

Hasta la vista, Laqueristas!

Tuesday, March 16, 2010

Tips n tricks 3:Removing polish

Comments
Dear lacqueristas,

I'm about to share my tips n tricks regarding removing nail polish. It seems so basic, yet can be a serious pain in the bum.... glitters anyone? Ok here I go:

Basic removing
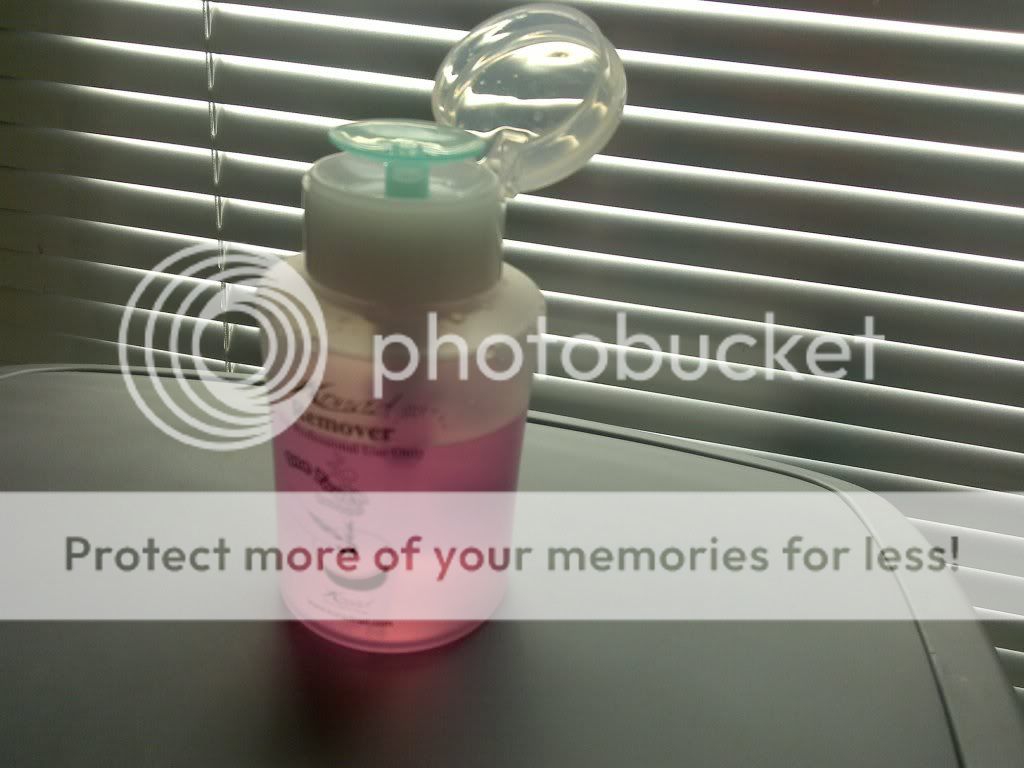
For the everyday nailpolish I like to use a acetone free remover. I like the idea that it contains less toxic ingredients. I bought an empty 1 push remover bottle by Konad that I fill with any drugstore cheap remover.
This bottle comes in totally handy because you don't have to screw open anything, you just push the lil thingy and weppa there you have a fresh nice squeez of remover. I currently use cellulose pads because they don't fluff, but I'm looking for an alternative because I don't like the way they feel.
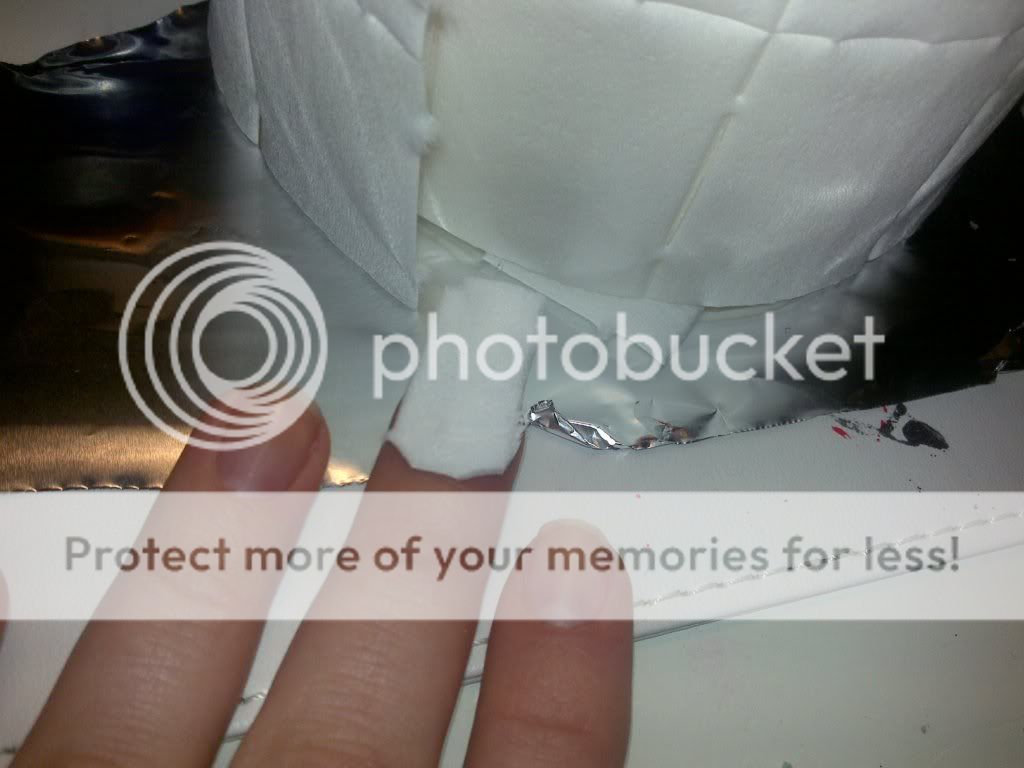
For a basic removal of polis, I would moist my cellulose pad with a good amount of remover, place it on my nail and let it work for about 15 seconds. Then I move my pad upwards towards my free nail edge. Try not to rub in this stage! If you do, the pigments might travel their way underneath or on your cuticles and this could leave residue for days. Not pretty. Therefor I use 1 pad per finger. When I finished removing the polish from all nails, I take 1 clean pad with remover and quickly run over all nails to finish off.
Now I would wash my hands and if I want to apply fresh nail polish, I would take my acetone remover and a new pad and run it over every nail to ensure no oils or soap is left on the nail surface.

Glitters
Oh my, glitter polishes used to be my worst nightmare! If you try to take them off the traditional way (as described above) it might take you an hour! And glitters everywere! Days later I would find glitters on my carpet or couch... A true pain in the bum. But! There are a few ways to speed up things. I am not a doctor but I assume the acetone might not benefit your health so try at your own risk.

The pad/tinfoil way
 
Click on the "read more" button to check out the rest of this tutorial

Tips and tricks part 2: Polishing and cleanup!

Comments
Dear lacqueristas,
There are many ways to apply polish to your tips, here is how I like to do it.


Polishing

Preparing
Choose your workplace, I like to work on a table with a bendable lamp. I use a placemat to protect the surface of my table. Put all the products you need in front of you. I know this might be obvious, but believe me how many times I was in a hurry and scr*wed up my fresh polish by reaching for the topcoat...
Make sure your nails are oil free (wipe them with remover) and your cuticles are pushed back.


Products you might need
*nail polish remover
*cottons or pads
*Q tips or small brush ( For cleanup. Real hairs, no plastic as this might melt in aceton!)
*base coat or ridge filler
*your nail polish of choise
*topcoat
*you might want to use fast drying drops


Base coat
There are several reasons why you would use a base coat: it protects the nail from stains and discolorations, it provides the right grip for your polish, it makes applying your polish more smooth.
You can use clear base coat, tinted ones, or a special sticky base coat. Most nail hardeners are also suitable to use as a base. Be aware with highly pigmented polishes: to be sure they won't stain your nails, you can put two layers of base coat for maximum protection.
Ridgefiller is a base coat that contains small particles like nylonpowders to fill ridges and smooth out the nail plate surface. A ridgefiller typically dries to a matte finish and most have a milky white hue. If you don't have a matte topcoat but you would like to achieve a matte look for your polish, you could apply a ridgefiller instead of a topcoat. Be aware of the milky finish, it will effect the color of your nailpolish!
Another tip: If you want to apply neons, pastels or any light color, starting off with 2 layers of ridgefillers as a base helps you to achieve a blanc canvas on wich the actual polish stands out better.


Polishing
I am also still in the process of experimenting how to achieve perfect polished nails. Let me share with you what I found out so far.
You will have to mix the formula of your polish but try not to tempt yourself to shake the bottle. (if you do, let the bottle rest standing up for about 5 minutes to allow bubbles to surface) It works just fine to either roll your bottle on a flat surface, or gently swing the bottle in your hand. This way you won't get bubbles.
Now you open your bottle and thover the brush above the opening, allowing the exess polish to drip back into the bottle. It's ok if you feel like you need to scare the exess off on the bottles neck but I like to start with a bead of polish.
Now you either detect the wide side of your polish brush (OPI pro wide) or you just go ahead and place your brush right in the lower middle of your nail. If you work with a bead like me,
Click on the "read more" button to check out the rest of this tutorial