
There are many ways to apply polish to your tips, here is how I like to do it.
Polishing
Preparing
Choose your workplace, I like to work on a table with a bendable lamp. I use a placemat to protect the surface of my table. Put all the products you need in front of you. I know this might be obvious, but believe me how many times I was in a hurry and scr*wed up my fresh polish by reaching for the topcoat...
Make sure your nails are oil free (wipe them with remover) and your cuticles are pushed back.
Products you might need
*nail polish remover
*cottons or pads
*Q tips or small brush ( For cleanup. Real hairs, no plastic as this might melt in aceton!)
*base coat or ridge filler
*your nail polish of choise
*topcoat
*you might want to use fast drying drops
Base coat
There are several reasons why you would use a base coat: it protects the nail from stains and discolorations, it provides the right grip for your polish, it makes applying your polish more smooth.
You can use clear base coat, tinted ones, or a special sticky base coat. Most nail hardeners are also suitable to use as a base. Be aware with highly pigmented polishes: to be sure they won't stain your nails, you can put two layers of base coat for maximum protection.
Ridgefiller is a base coat that contains small particles like nylonpowders to fill ridges and smooth out the nail plate surface. A ridgefiller typically dries to a matte finish and most have a milky white hue. If you don't have a matte topcoat but you would like to achieve a matte look for your polish, you could apply a ridgefiller instead of a topcoat. Be aware of the milky finish, it will effect the color of your nailpolish!
Another tip: If you want to apply neons, pastels or any light color, starting off with 2 layers of ridgefillers as a base helps you to achieve a blanc canvas on wich the actual polish stands out better.
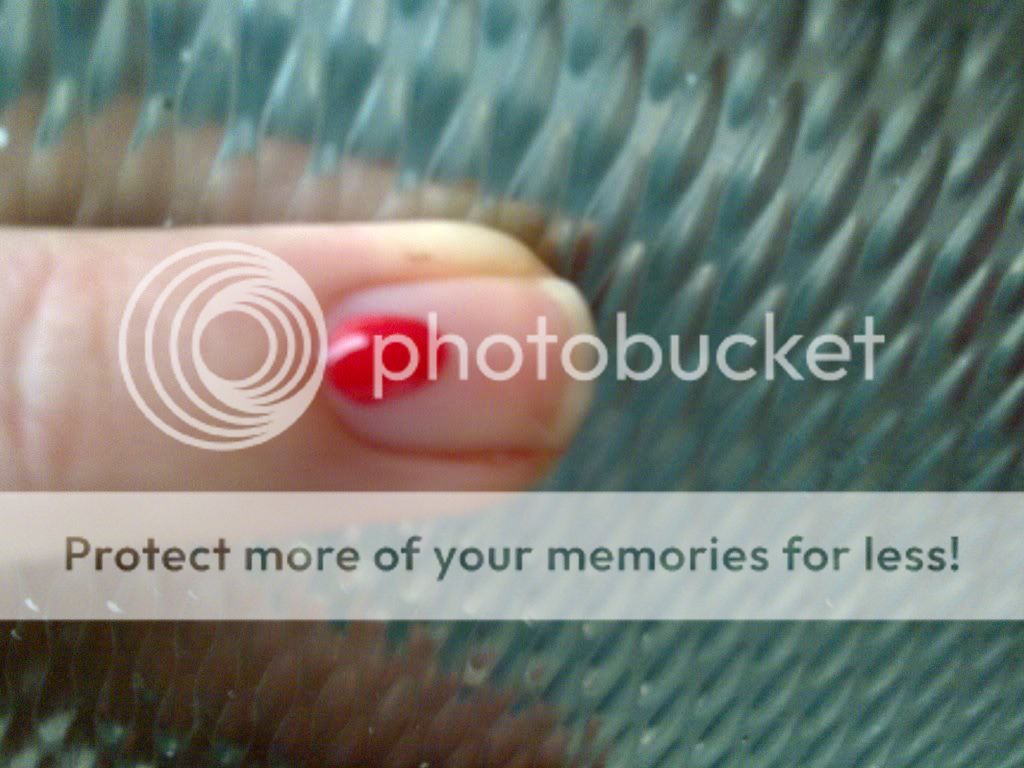
Polishing
I am also still in the process of experimenting how to achieve perfect polished nails. Let me share with you what I found out so far.
You will have to mix the formula of your polish but try not to tempt yourself to shake the bottle. (if you do, let the bottle rest standing up for about 5 minutes to allow bubbles to surface) It works just fine to either roll your bottle on a flat surface, or gently swing the bottle in your hand. This way you won't get bubbles.
Now you open your bottle and thover the brush above the opening, allowing the exess polish to drip back into the bottle. It's ok if you feel like you need to scare the exess off on the bottles neck but I like to start with a bead of polish.
Now you either detect the wide side of your polish brush (OPI pro wide) or you just go ahead and place your brush right in the lower middle of your nail. If you work with a bead like me,
Click on the "read more" button to check out the rest of this tutorial


I wait about 2 minutes before applying the next layer because if the first layer is still too wet, it tends to drag and damage. I apply 2-4 layers of polish, depending of the formula, pigmentation and effect.
Topcoat
A topcoat protects you nail polish from damaging and discolouring, it adds shine and in some cases helps drying your polish. Some polish colors are effected by topcoats, they might deepen a shade or become more vibrant. I think this could be a good thing for dull/old polishes, just go head and experience!
If you used a matte polish, you should be aware that using a regular topcoat would totally effect the matteness.
There are also matte top coats available, I use China Glaze matte magic and it does the job. I don't like the feeling of the matte finish though, reminds me of chalkboard...
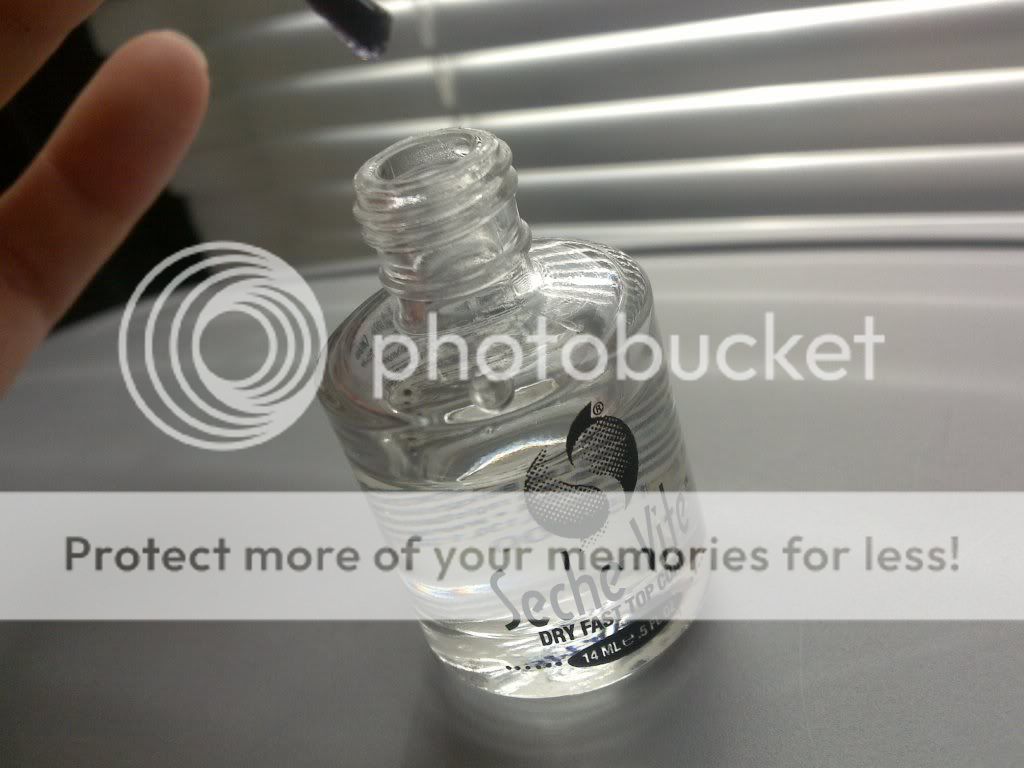
I love the fast drying topcoat Seche Vite, I use it all the time and can't remember how my days where like before I discovered it. I mean *bed sheet imprints* and the dreaded *2 hour waiting before my polish would dry*
How to apply Seche Vite
you apply your polish regurlaly, no need to dry, after you polished your 10th nail you can start applying Seche Vite to nail 1. Allow the brush to collect a generous bead of Seche. Place the bead on your nail and *glide* the bead to cover your polish. Make sure the brush doens't touch your nail, always let it hover in the bead of product. If it does touch your nail, your polish is most likely to drag and damage. I like to be generous with my Seche Vite, it gives the prettiest glossy vinyl like finish and makes my mani last for ever. No chips, just some tipware.
Tip: Some people like to add a fresh layer of topcoat daily or every other day to make their mani last longer.
Cleanup
After polishing I like to do a cleanup. I don't know anybody that can perfectly polish 10 nails. I can't, however I still hope that one day I could... You can use a natural hair (make-up or painters) brush that you dip in pure aceton. I learned this from the wonderfull blog http://littlemusicboxes.blogspot.com/search/label/clean-up%20tutorial, written by Megan. Check out her blog as it's full of tutorials and beautiful polish pics.
These were my tips n tricks about polishing. I hope you had fun reading it, I wonder what your tricks are? Feel free to comment!
Hasta la vista, Laqueristas!