
Dear Lacqueristas,
I had many, many requests to make a tutorial about marbeling neons. So here you go:

Before you start, prepare your work station with all the supplies you need.
- An old small bowl filled with luke warm water
- A base coat
- A top coat (I like fast drying topcoats like Seche Vite)
- Toothpicks
- Acetone
- A clean-up brush (I like to use a flat eyeliner brush)
- Paper tape
- The polishes you want to marble with (caps allready screwed loose)
- First step is to protect your nails with a base coat. Especially neons tend to stain! Then you polish your nails with opaque white nail polish. I used two coats of China Glaze Snow.
2. When your white base is dry to the touch, you wrap your finger in tape so that only your nail is exposed. It's ok if your cuticles are not completely covered.

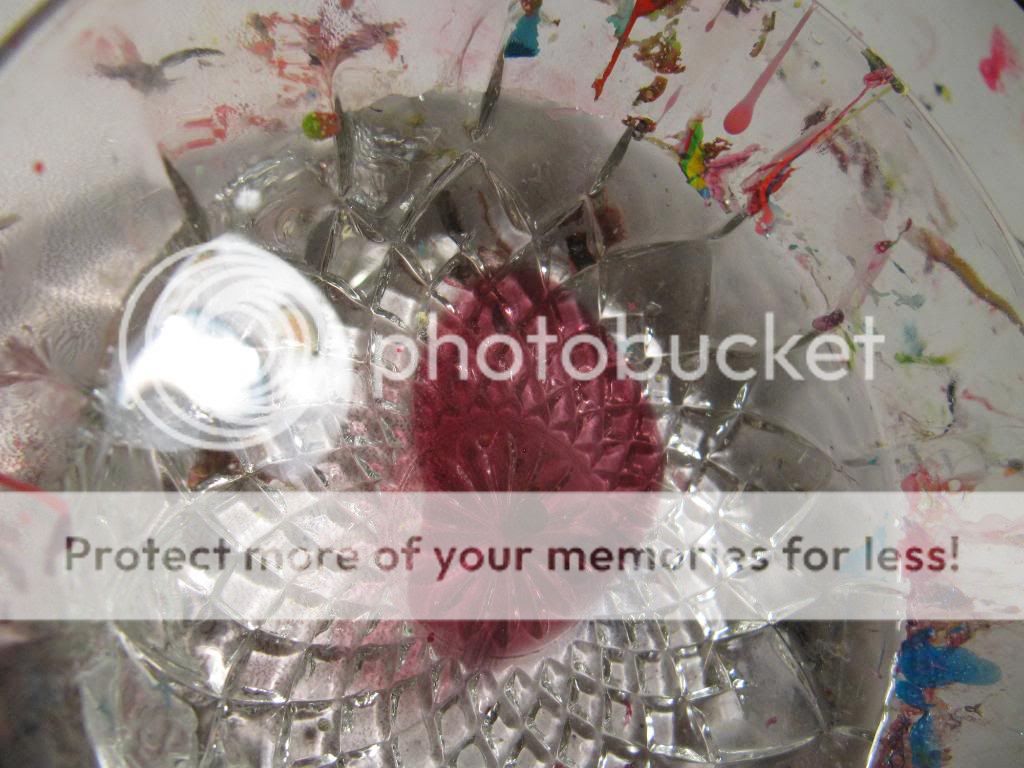
3. Normally you would drop one of your polishes in the water to start building your marbeling circles. But I found that with neons they dry too fast so the first ring of polish wouldn't spread out properly and the film of plastic would occur immidiatly. So my technique is that my first polish to drop would be random, slow drying regular cheap polish. I happen to take one of Catrice's for this tutorial.
So, Take your polish and let a good bead drip into the water. You will see that it would spread out nicely. The next step has to be done very quickly.
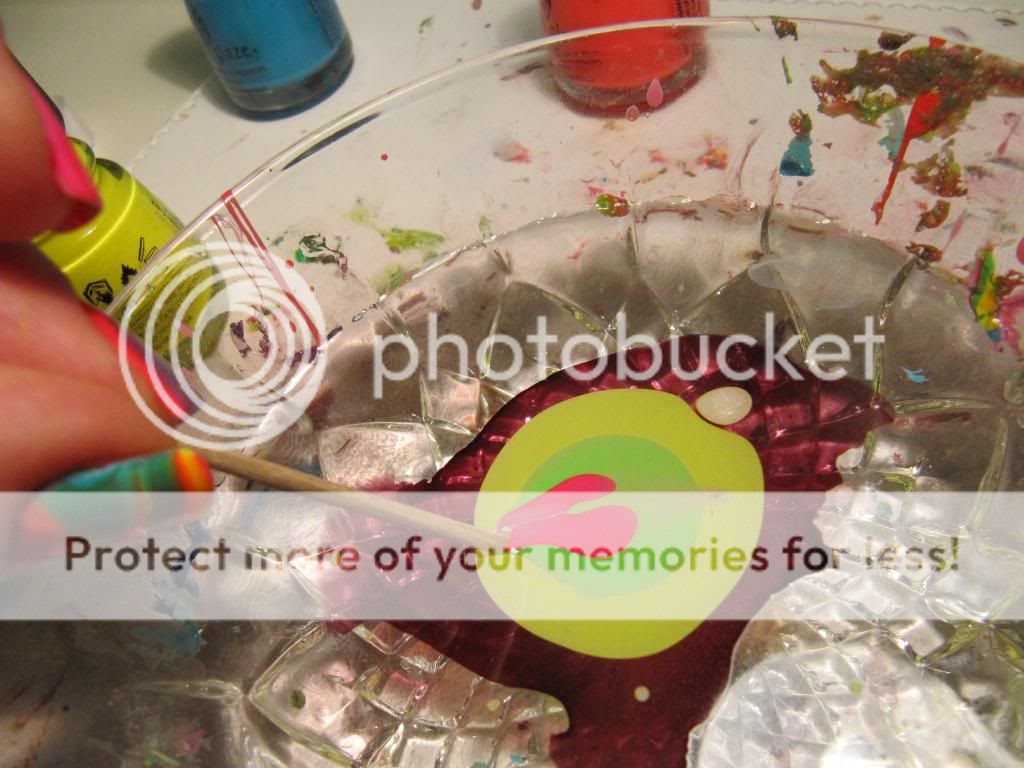
4. Now you drip a bead of a neon polish in the center of the first circle.

5. Quickly you can be adding more drops of different colours, make sure you drip always in the middle of the previous color and that the rings still spread out. If they won't spread out anymore, you can see if you can help them by breaking through the plastic film that occurs on the outter surface of the circles using your toothpick ( a clean one!) Be very carefull with this, it might take some practice to see where exactly you can remove the film.
Warning: if the circles are too compact you will end op with a goopy mess on your nail that can't be fixed. So focus on letting your circles expand nicely.

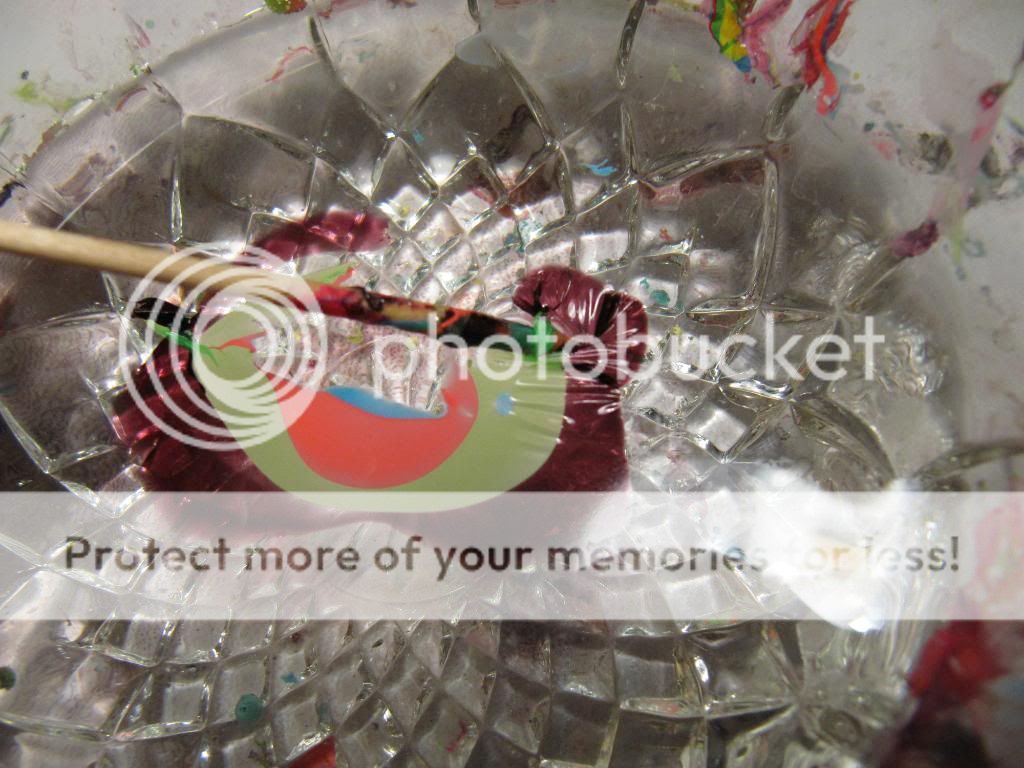
6. Now it's funtime. Take your toothpick and start drawing it though the circles. A few tips:
Take a clean toothpick
Make sure the toothpick isn't wet (water) that will cause bubbles
Be carefull while drawing your toothpick, there will be a plastic film on the surface and once your break this, your circles will break loose and the design is gone.
Sometimes the simpeler designs are the prettiest so go ahead and discover what magic you can do with your lil toothpick.

7. When you achieve your design you would want to dip your nail into the polish. Place your nail where you want it to pick up the design and push it trough the surface of the nailpolish that floats on the water.

Make sure you don't touch the bottom of the bowl with your nail. Just let the polish set a lil whit your finger still under water while you take a toothpick and break away the polish and plastic films surrounding your finger/nail.

Be carefull not to touch your nail. With your toothpick you should be able to pick up the exces polish films off the water. This *polish film* looks a lil something like this:
8. Now take your finger out of the water *oohhhh it really works!*

And remove the tape with great caution *you wouldn't wanna damage your freshly marbled nail*

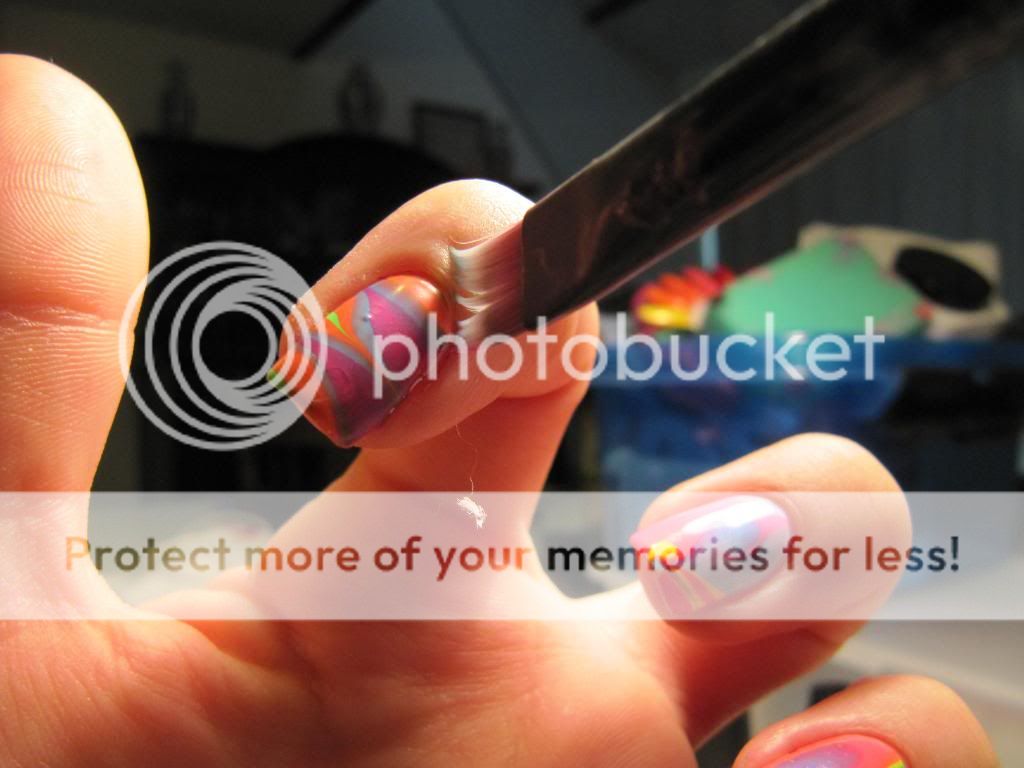
9. Clean-up! When all water has evaporated from your nail, dip your clean-up brush in pure acetone and run it over your cuticles and wherever on the skin you might have polish. I even run the brush around the inner side of my cuticles to come as close to a perfect tight polishes nail as possible. This might take some practice but you get faster at it soon.
Well, it wasn't that hard was it? Let me know how they turned out!!! I'd love to hear from you. If you have any more questions, feel free to contact me.
15 comments:
Awwwwwweeesome! Thanks so much, best tutorial for marbling in general I've seen yet! Bravo!
Woohoo! Thanks for the tutorial :)
Great tutorial! But water marbling isn't my thing. :)
Wow thats really cute! :)
OMG!!! Awesome tutorial :D thank you soooooo much
It's Paiget012 here from makeupalley. Thanks so much for sending me the link! This really helped me so much, I'm definatley going to be trying this out because it's so beautiful!
Paige xoxo
This is awesome! Thank you so much! I'm going to try this out once my nails are long enough, hehe :)
Nice tutorial really simple :) i havent marbled in a while i think i may do it tomorrow :)
You are a fabulous blogging lady. I tagged you with an award. You can pick it up at my blog:
http://lacquerwarefortipsandtoes.blogspot.com/
That is beautiful!!! I have to try it :)
Thanks so much for the tutorial, I've always meant to look up marbelling on YT but always forget :) *bookmarks*
Je kunt beter plakband op je cuticles doen, dan hoef je geen nagellak weg te halen
xx
This is a great tutorial! I finally tried it out today - I hope to get better at it in the future :P
http://chocomintbubblegum.blogspot.com/2010/06/all-about-nails.html
blijft moeilijk!
i really love nails i do then a lot an whaen i saw this i was excited it really came out nice very creative
Post a Comment
I enjoy reading comments but please be respectfull and don't post links to your own blog :-)